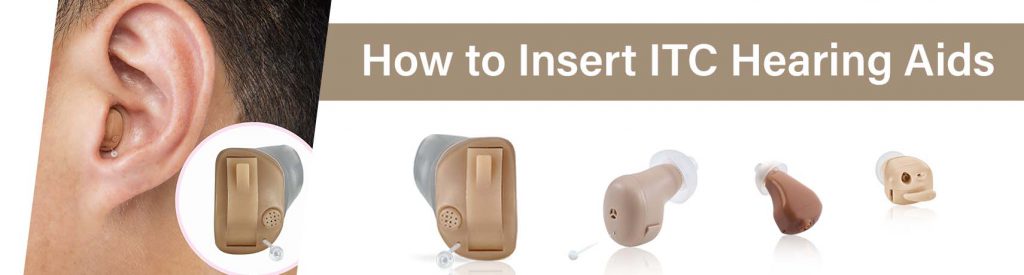
Hearing loss is a common condition that affects millions of people worldwide. Fortunately, advancements in hearing aid technology have made addressing this issue easier than ever. In-the-Canal (ITC) hearing aids are a popular choice due to their appearance and comprehensive performance. If you’re considering using ITC hearing aids, you might be wondering how to insert them properly. In this article, we’ll provide a step-by-step guide to help you insert your ITC hearing aids with ease.
Step 1: Prepare your hearing aids and hands
Before you begin, make sure your hands are clean and dry. Prepare your ITC hearing aids by checking that the batteries are working and the devices are clean and free of debris.
Step 2: Identify the right and left hearing aids
Most ITC hearing aids are designed to fit a specific ear. They are labeled “L” for the left ear and “R” for the right ear. It’s important to identify the correct device for each ear to ensure optimal performance.
Step 3: Hold the hearing aid properly
Gently hold the ITC hearing aid between your thumb and forefinger. Be careful to hold the body of the device rather than the faceplate or microphone to avoid damage.
Step 4: Open your ear canal
With your free hand, gently pull the upper part of your ear (called the pinna) upward and outward. This helps straighten and open the ear canal, making insertion easier.
Step 5: Position the hearing aid
Align the hearing aid so that the “L” or “R” marking matches the correct ear. The body of the device should point toward your ear canal.
Step 6: Insert the hearing aid
Slowly insert the hearing aid into your ear canal. Avoid pushing or forcing it in. You should feel slight resistance but no pain. If you feel discomfort, stop and adjust the position before trying again.
Step 7: Ensure a proper fit
Once inserted, the hearing aid should feel comfortable and sit securely in your ear without protruding. Use a mirror to check the position. If it feels loose or uncomfortable, remove it and try reinserting until it feels right.
Step 8: Secure the hearing aid
After the hearing aid is in place, release your pinna. This should help secure the device firmly in your ear. Gently wiggle your ear to ensure the aid is stable.
Step 9: Repeat for the other ear
If you have ITC hearing aids for both ears, repeat the same steps for the other side.
Step 10: Test the hearing aids
Turn on your ITC hearing aids and test them by speaking or listening to surrounding sounds. Adjust the volume as needed until you feel comfortable and can hear clearly.
Step 11: Professional guidance
While this guide provides general instructions for inserting ITC hearing aids, it’s also helpful to consult with an audiologist or hearing care specialist for personalized advice. They can ensure your devices are properly fitted and tailored to your specific hearing needs.
In conclusion, inserting an ITC hearing aid may seem intimidating at first, but with practice and patience, it will soon become part of your daily routine. These small devices can greatly enhance your quality of life by improving your hearing. At Mimitakara, we offer a wide range of ITC hearing aids that combine comfort and modern design. Contact us at the Digibionic Service Center, Sena Nikhom 1, for more information.
เราใช้คุกกี้เพื่อพัฒนาประสิทธิภาพ และประสบการณ์ที่ดีในการใช้เว็บไซต์ของคุณ คุณสามารถศึกษารายละเอียดได้ที่ นโยบายความเป็นส่วนตัว และสามารถจัดการความเป็นส่วนตัวเองได้ของคุณได้เองโดยคลิกที่ ตั้งค่า